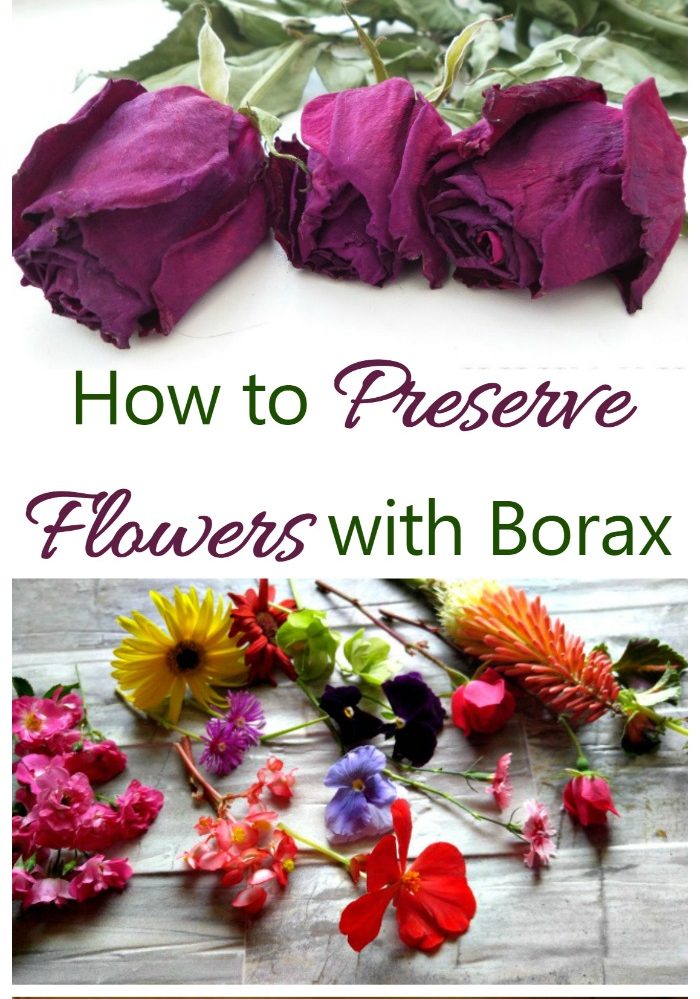
如果您喜欢干花的外观,请不要购买。 保花 自己用两种常见的家用材料:硼砂和玉米粉。
See_also: 种植紫锥花 - 如何养护紫锥花 园艺的真正乐趣之一就是在我的花园里种了这么多花。 我有时会把它们剪下来带到室内,也喜欢把它们晒干做插花和其他手工艺品。
干花可以用在各种工艺和装饰项目中。 让它们干透并保持颜色,可以获得最佳效果。
这种烘干鲜花的方法正是如此。

硼砂在家里有很多用途。 当然,它是洗衣和清洁的好帮手,但也可以用在很多其他方面。 我甚至把硼砂作为杀蚁剂进行过测试,结果非常成功!
20 骡子团队的产品也是爬行查理的绝佳除草剂。 但今天,我将用它来保鲜鲜花。
还记得把毕业舞会或其他特殊场合的鲜花放在一本密闭的书里晾干吗? 唯一的问题是鲜花会被压扁。 
与之相反,我们将使用硼砂来保存鲜花,以便日后用于制作工艺品、门环或摆放在家中。
用硼砂和玉米粉保存鲜花非常简单。 了解方法!我 ♥ 鲜花! 点击 Tweet
是时候用硼砂保存鲜花了!
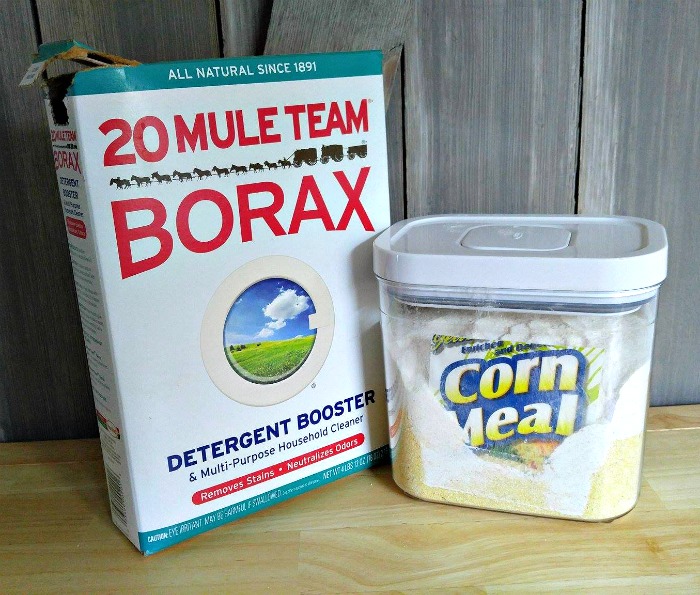
要完成这个项目,你需要这些东西:
- 1 份硼砂
- 2 份磨碎的玉米粉
- 大鞋盒
- 一些切花
- 纸巾
它是如何工作的?
你有没有在盒子里发现过硅胶小包? 它们可以防止湿气进入包装中的任何东西。 硼砂也有类似的作用。
它能起到干燥剂的作用,减缓去除花瓣中的水分,使花瓣保持自然的形状和颜色。
花瓣较薄的花卉和植物效果最佳。 以下是一些不错的选择: 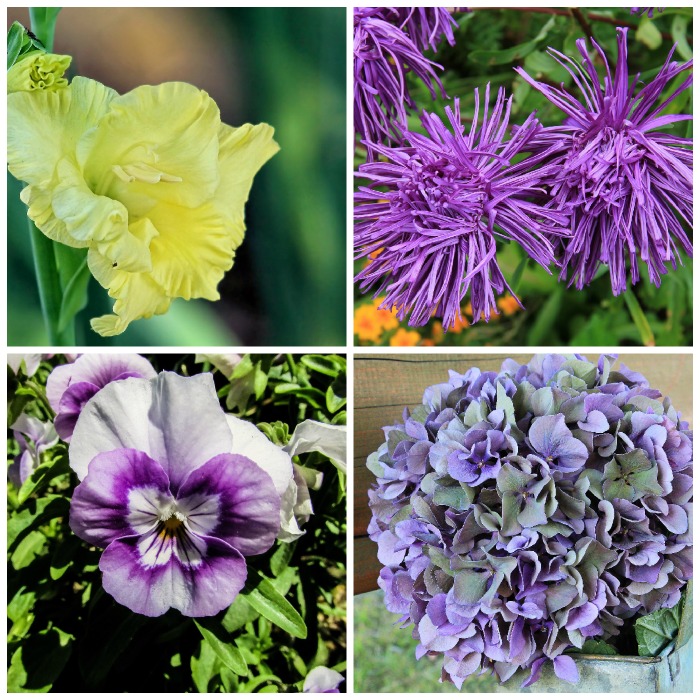
- 翠菊
- 康乃馨
- 薏苡
- 宇宙
- 大丽花
- 石竹
- 剑兰
- 绣球花
- 玉兰
- 三色堇
- 玫瑰
- 紫阳花
准备鲜花
在尝试用硼砂保存鲜花之前,您需要先把它们准备好。 把叶子修剪掉,并把花茎剪成您想要的长度(它需要能装进盒子里)。
您也可以只保留花朵的头部,在这种情况下,您可以将花茎从花朵头部下方剪下(非常适合制作盆栽!)。 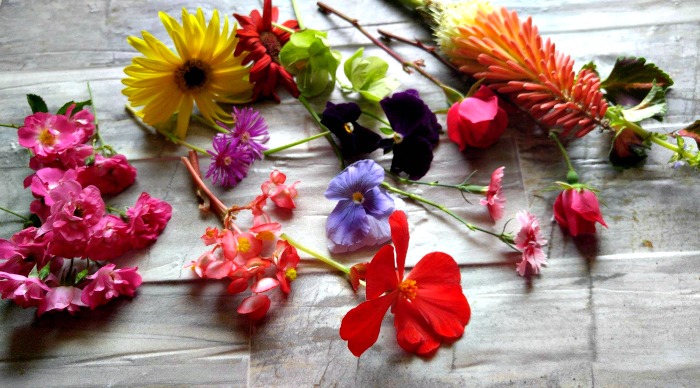 TIP: 花朵越新鲜,保存效果就越好,因此在开始种植前要从花园中将其剪下。 剪下干燥的植物。
雨后潮湿的植物更难处理,很容易受损。 把花放在塑料袋里,放在阴凉处,不要放在水里。
See_also: 辣味四川蒜椒炒猪肉 如果您使用花店的鲜花,请将其新鲜剪下,在水中浸泡 20 分钟左右,然后装入袋中。 这将有助于去除花店可能添加的防腐剂。
用硼砂保存鲜花有几种方法。
用硼砂保存鲜花有几种方法:可以将鲜花侧放在盒子里,或者将鲜花的正面放入混合物中。
您可以在盒子里铺上报纸,然后在盒子底部打孔,只插入花头,花茎悬挂在下面。
我会用这些花来做盆景和手工艺品。 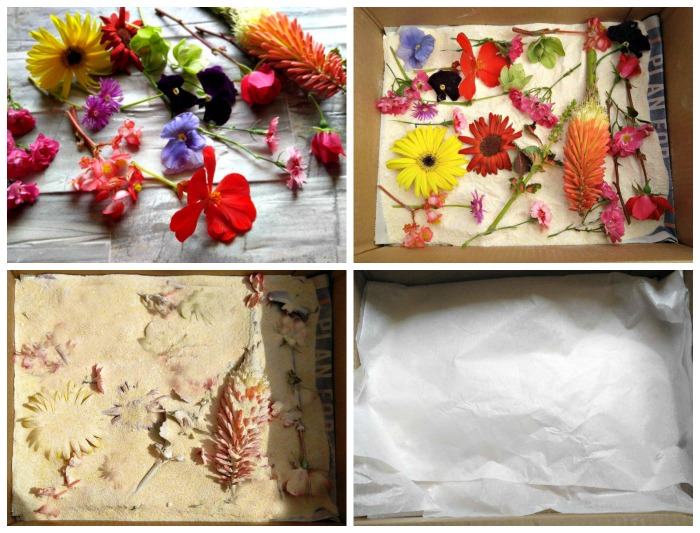
硼砂和玉米粉在盒子底部铺一层报纸。 将花放入盒子后,在花上撒上硼砂/玉米粉混合物。 确保花头完全覆盖,但只是轻轻覆盖。
继续添加混合物,直到全部覆盖为止。 我的插图中有些花朵只覆盖了一部分。
(我想测试一下到底需要多少硼砂才能把它们烘干,以及如果它们上面的混合物少一些会怎么样)。
比例是 1 份硼砂兑 2 份玉米粉,用量取决于盒子的大小和要烘干的花朵数量。
最后一步,在盒子上铺一层纸巾,盖上盖子或盖子,耐心等待。 大约一周后再看看它们的情况如何。
现在你就等着吧!
花朵需要 1-3 周的时间才能干透。 要测试花朵的干湿程度,可轻轻捏起一片花瓣。 如果花瓣的触感仍然凉爽湿润,则表示需要更多的干燥时间。
如果感觉干燥,还要测试花萼(花朵背面的叶片部分)的干燥程度。 
花朵越小,烘干时间就越快。 花瓣紧密的花朵,如玫瑰花蕾,烘干时间要长一些。
我最喜欢玫瑰花,但其他花朵的颜色也保存得很好。 
待花朵完全干透后,小心地将其从混合物中取出,轻轻刷去或吹去仍粘在花瓣上的混合物。
这些花可以用在很多家居装饰中,我尤其喜欢把它们放在餐桌的中心装饰盒里,也喜欢用来做门环。 
如果硼砂混合物仍然潮湿,可将其放在烤盘上的羊皮纸上,然后放入华氏 150 度的烤箱中烘干 30 分钟。
请点击此处查看羊皮纸的更多用途)。
您尝试过烘干鲜花吗? 您的项目进展如何?

Bobby King
Jeremy Cruz is an accomplished author, gardener, cooking enthusiast, and DIY expert. With a passion for all things green and a love for creating in the kitchen, Jeremy has dedicated his life to sharing his knowledge and experiences through his popular blog. Having grown up in a small town surrounded by nature, Jeremy developed an early appreciation for gardening. Over the years, he has honed his skills in plant care, landscaping, and sustainable gardening practices. From cultivating a variety of herbs, fruits, and vegetables in his own backyard to offering invaluable tips, advice, and tutorials, Jeremy's expertise has helped numerous gardening enthusiasts create stunning and thriving gardens of their own.Jeremy's love for cooking stems from his belief in the power of fresh, homegrown ingredients. With his extensive knowledge of herbs and vegetables, he seamlessly combines flavors and techniques to create mouthwatering dishes that celebrate nature's bounty. From hearty soups to delectable mains, his recipes inspire both seasoned chefs and kitchen novices to experiment and embrace the joys of homemade meals.Coupled with his passion for gardening and cooking, Jeremy's DIY skills are unparalleled. Whether it's building raised beds, constructing intricate trellises, or repurposing everyday objects into creative garden decor, Jeremy's resourcefulness and knack for problem-solving shine through his DIY projects. He believes that everyone can become a handy craftsman and enjoys helping his readers turn their ideas into reality.With a warm and approachable writing style, Jeremy Cruz's blog is a treasure trove of inspiration and practical advice for gardening enthusiasts, food lovers, and DIY enthusiasts alike. Whether you're a beginner seeking guidance or an experienced individual looking to expand your skills, Jeremy's blog is the ultimate go-to resource for all your gardening, cooking, and DIY needs.
